Although the commercial uses for India ink has dyed out over time as cheaper, more efficient inks have become available, in the DIY arts and crafts niche, it has seen somewhat of a recent resurgence in its popularity. Although there are a number of popular black ink types available on the market, many artists do prefer to use India ink due to its black tones really helping to make your art work pop.
Due to the surge in the popularity of the number of people using India ink again, we have noticed more and more people reaching out with questions about the ink as well as on how to make India ink at home. Due to a number of popular art tutorials on YouTube with homemade India ink with a few custom ingredients offering a nice color tone, a number of people have decided that they want to make their own ink too.
Due to this, we will be going over the most commonly used homemade India ink recipe that people tend to use as well as how you are able to make your own India ink. Please note though, it can be difficult to get the consistency of India ink fine enough for use with a dip pen and we always discourage people from using it with a fountain pen anyway but some commercially available India inks can work.
Although you can make your own homemade India ink, it is usually best for painting and other forms of art where the ink does not have to actually pass through a tight ink path. Using your homemade India ink for brush-based art also opens up the additional ingredients that you are able to add to it to help add additional tones to your work too.
What Is India Ink?
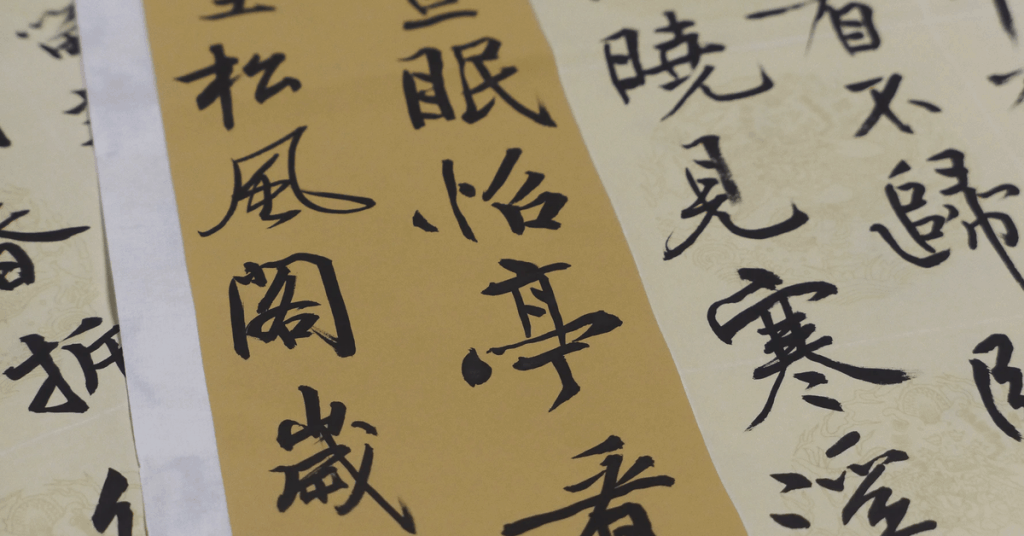
India ink was actually developed in China as early as the 3rd millennium BC and used as a rudimentary, quick and easy ink with a number of applications. Since then, its popularity increased with it once being the dominant ink used for the printing press but more modern ink formulas have been developed over the last 100 years or so seeing the popularity of India ink fade away.
The basic composition of India ink is extremely simplistic and is essentially ground up soot that is fine enough to be suspended in water to form the basis of the inky liquid. Although some people do add binding agents such as Glycerine to their homemade India ink, there is no need provided you get the soot fine enough to be naturally suspended in water.
How To Make India Ink At Home For Cheap!
If you are looking to make your own India ink at home then the following ingredients will be required as a minimum:-
- Charcoal Ash.
- No products found..
- Water.
On top of that you will also require a No products found., No products found., and something like a No products found. to store your ink in. Although there are alternatives available for many of these and many people add additional ingredients, we recommend that you stick to this initial homemade India ink recipe for your first batch.
Now, even if you order commercially available fine Charcoal Ash, you will still probably have to grind it further to ensure that it is fine enough to be suspended in the water. If you are using regular charcoal then you will have to grind it down until the particles are tiny. Thankfully, due to the weak bonds in charcoal, it is very easy to grind down to be fine enough for use in India ink.
The easiest way to do this is to place the charcoal ash into your bowl and then grind it down using the back of a spoon until it is tiny. Although this may sound like a laborious task, it is surprisingly easy and a minute or two of grinding will usually have enough charcoal ash for your India ink.
At this stage, you need to pour clean water into your bowl ready to mix it with your Charcoal ash. Be sure to add the water at a slow pace as the ash is very lightweight and pour the water until all of the ash is submerged. Unlike some other ink formulas, there is no exact amount of water to add for homemade India ink as the consistency of your charcoal comes into play so you have to test and adjust. A good rule of thumb is to add just enough water until all of the charcoal is submerged though as this should provide you with a nice mixture.
Although you can technically now mix the mixture with any utensil that you have available, you will almost always get a better result if you mix your India ink with a No products found. as the multiple bristles on the brush helps to speed the job up. Be sure to mix the charcoal and water together until all of the visible clumps are gone and you are left with a mixture that actually looks like ink.
Although this step can be missed out completely, you can add a drop of No products found. at this stage. This has two main purposes, the first one is to help deal with any bacterial impurities in the mixture if you are using charcoal from your barbecue, the second is that the vinegar can help to stabilize the ink if the charcoal is not fine enough.
At this stage, you can add your homemade India ink to your No products found. or any other ink jar that you plan to keep it in. Be sure to keep your ink out of direct sunlight as it will cause your mixture to dry out quickly and try to always shake the ink prior to use to reconstitue it. If your homemade India ink has dried out completely then you may have to go through the whole process again as the charcoal can rebind into larger clumps after drying out.
How Do You Make Indian Ink Thicker?
We often see people asking how they are able to make their homemade Indian ink thicker and there are two main ways to do this with both being easy. The first one is to add more charcoal to your mixture after you have initially made it following the steps above and then remix it with your brushes. You simply repeat this process over and over again by adding additional, small amounts of charcoal until your ink has the consistency you want.
The second way is to add less water to your homemade India ink during the steps explained in the previous section. We usually don’t recommend this approach as there is a large amount of guess work involved and it is almost always easier to thicken up your India ink by adding additional charcoal ash to it after making your first batch and this is what we recommend our readers do.
Is Black India Ink Permanent?
Although homemade India ink can be made to be permanent, it is difficult to get the consistency perfect to ensure that the pigments from the charcoal will stick correctly. That said though, most of the commercially available India inks are marked as permanent and will last you for a long period of time.
That said though, although they are marked as “permanent” they are not up to the standard of archival ink. If you do need your work to last for as long as possible then we would always recommend that our readers go with a commercially available archival ink that has been specifically formulated to last for decades.
Does Indian Ink Fade?
It is very common for homemade India ink to fade over time but the duration of time required before the ink will fade can vary greatly due to the differences in the ingredients and production process. Commercially available India inks tend to last longer than homemade Indian inks before they will start to fade but even those will end up fading after a few decades.
Conclusion
That brings our article going over the how to make your own India ink to a close. Thankfully, when it comes to India ink, both the ingredients list and production process are very simple and straight forward making it much easier to make than most of the other popular inks that people like to make at home. We feel that this is one of the main driving forces behind the surge of people who have been reaching out and asking for advice on how to make their own homemade India ink as it is very simple and straight forward for your first homemade ink type while also performing very well for a number of arts and crafts activities.